OG buckshot jr
TD Admin
One step ahead of you Clash. Thanks for all the tips guys, and no, no yellow glue lol I'm gonna use a proper, high-quality epoxy. As I don't need too much, the cost should be fairly inexpensive to know I have the best stuff holding my stuff together - especially when I go to move it.
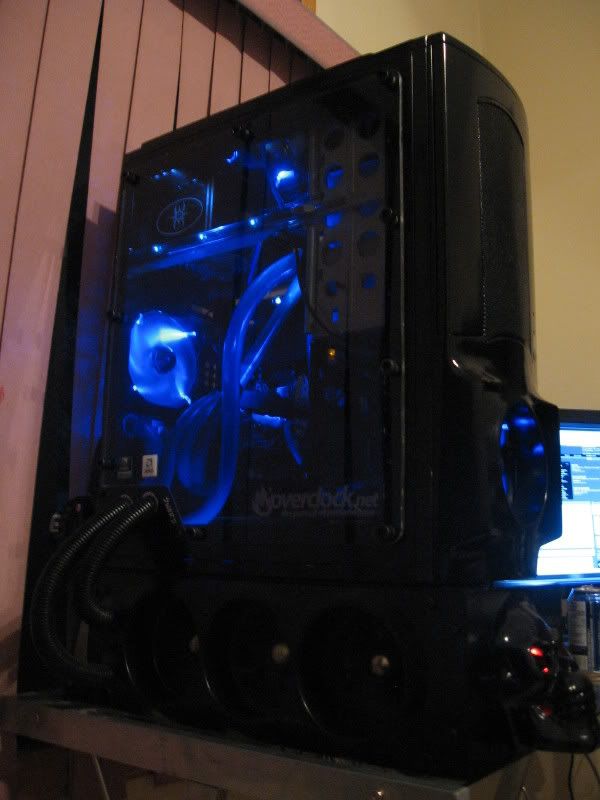
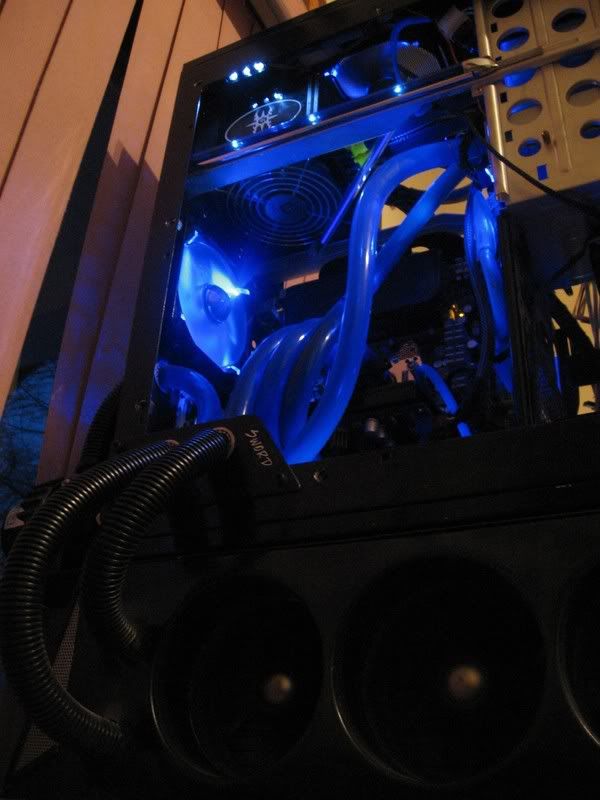
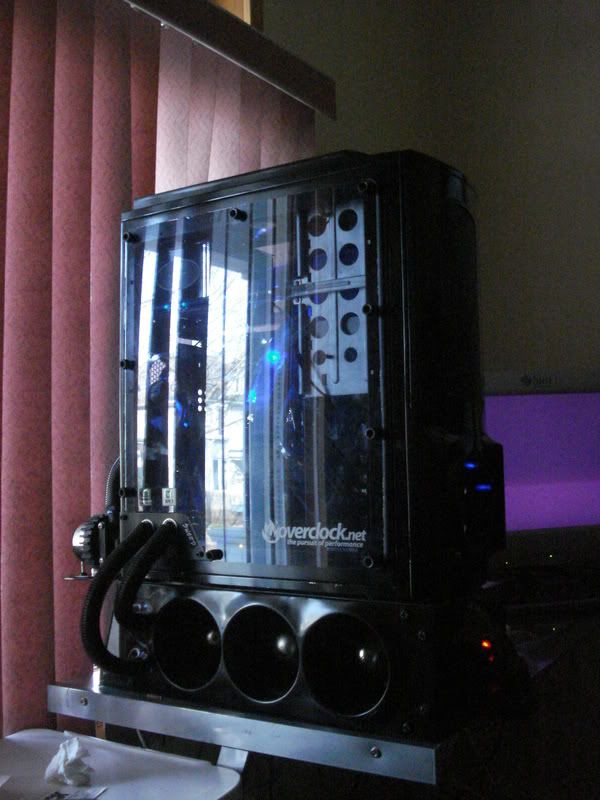
Know this first: I've decided to suspend my motherboard above the Power Supply and hard drive cage(s), and to do it I'm gonna use clear plexiglass tubes I've cut to size, rubber washers, locknuts and nuts, and lastly cut-to-size threaded bolts to go through each tube. This will bring the motherboard 6" above the base - more than enough room to store the PSU and Hard Drive cage(s), while giving a nice custom look.
TO VIEW THE IMAGES, RIGHT-CLICK ON THEM, AND SELECT " PEN IN NEW WINDOW". Lightbox is really slow/not working, so it will load instantly using this method. Thanks Dead Mike for confirming this method.
Picture1
- I've bored out the motherboard screw holes to fit the threaded bolts through
[lightbox=http://img17.imageshack.us/f/dsc00341dd.jpg/|||]/lw.jpg[/lightbox]
Picture2
- Making sure the threaded bolt (yet to be cut to size) fits through, nice and snug
[lightbox=http://img25.imageshack.us/f/dsc00343iq.jpg/|||]/lw.jpg[/lightbox]
Picture3
- These are the tubes that will hold up the motherboard (with locknuts and rubber washers at each end - all rubber contact to mobo)
[lightbox=http://img688.imageshack.us/f/dsc00344jk.jpg/|||]/lw.jpg[/lightbox]
Picture4
- Just to show the tubes are bored out (bought it like that, as one very long piece). The threaded bolt fits perfectly snug.
[lightbox=http://img706.imageshack.us/f/dsc00345a.jpg/|||]/lw.jpg[/lightbox]
Picture5
- Clamped to wood to ensure no cracking or peeling, I've pre-marked the motherboard holes. Here are the small pilot holes.
[lightbox=http://img22.imageshack.us/f/dsc00346lmz.jpg/|||]/lw.jpg[/lightbox]
Picture6
- I've taken the pilot holes and bored them out, using the same technique outlined in Pic5, to the perfect size for the threaded bolt (the bolts will run through the base plate and be 'nutted' shut on the bottom of the case). The case is on wheels, if anyone is wondering.
[lightbox=http://img706.imageshack.us/f/dsc00350oah.jpg/|||]/lw.jpg[/lightbox]
***NOTE***
- The holes look rough because of the blue 'seal' that covers the plexiglass. It's like plastic wrap. It's been recommended to make all cuts leaving this on, only to be peeled once near completion, but the plexiglass itself is really clean, I'm very proud.
I've also done the power supply holes, but pics would be very similar. Mounting will begin once I cut the threaded bolt - as I've not yet figured out the best way to cut it would be :/ The bolt is 10-24 (metric) in size. I'm open to suggestions.
Lastly - Clash, I've already planned ahead for using the original hard drive cage. The 5.25" drive bays are another story, we'll see about them.
Know this first: I've decided to suspend my motherboard above the Power Supply and hard drive cage(s), and to do it I'm gonna use clear plexiglass tubes I've cut to size, rubber washers, locknuts and nuts, and lastly cut-to-size threaded bolts to go through each tube. This will bring the motherboard 6" above the base - more than enough room to store the PSU and Hard Drive cage(s), while giving a nice custom look.
TO VIEW THE IMAGES, RIGHT-CLICK ON THEM, AND SELECT "
 PEN IN NEW WINDOW". Lightbox is really slow/not working, so it will load instantly using this method. Thanks Dead Mike for confirming this method.
Picture1
- I've bored out the motherboard screw holes to fit the threaded bolts through
[lightbox=http://img17.imageshack.us/f/dsc00341dd.jpg/|||]/lw.jpg[/lightbox]
Picture2
- Making sure the threaded bolt (yet to be cut to size) fits through, nice and snug
[lightbox=http://img25.imageshack.us/f/dsc00343iq.jpg/|||]/lw.jpg[/lightbox]
Picture3
- These are the tubes that will hold up the motherboard (with locknuts and rubber washers at each end - all rubber contact to mobo)
[lightbox=http://img688.imageshack.us/f/dsc00344jk.jpg/|||]/lw.jpg[/lightbox]
Picture4
- Just to show the tubes are bored out (bought it like that, as one very long piece). The threaded bolt fits perfectly snug.
[lightbox=http://img706.imageshack.us/f/dsc00345a.jpg/|||]/lw.jpg[/lightbox]
Picture5
- Clamped to wood to ensure no cracking or peeling, I've pre-marked the motherboard holes. Here are the small pilot holes.
[lightbox=http://img22.imageshack.us/f/dsc00346lmz.jpg/|||]/lw.jpg[/lightbox]
Picture6
- I've taken the pilot holes and bored them out, using the same technique outlined in Pic5, to the perfect size for the threaded bolt (the bolts will run through the base plate and be 'nutted' shut on the bottom of the case). The case is on wheels, if anyone is wondering.
[lightbox=http://img706.imageshack.us/f/dsc00350oah.jpg/|||]/lw.jpg[/lightbox]
***NOTE***
- The holes look rough because of the blue 'seal' that covers the plexiglass. It's like plastic wrap. It's been recommended to make all cuts leaving this on, only to be peeled once near completion, but the plexiglass itself is really clean, I'm very proud.
I've also done the power supply holes, but pics would be very similar. Mounting will begin once I cut the threaded bolt - as I've not yet figured out the best way to cut it would be :/ The bolt is 10-24 (metric) in size. I'm open to suggestions.
Lastly - Clash, I've already planned ahead for using the original hard drive cage. The 5.25" drive bays are another story, we'll see about them.


